BRAIN Docs
Gate.io API Connection Guide
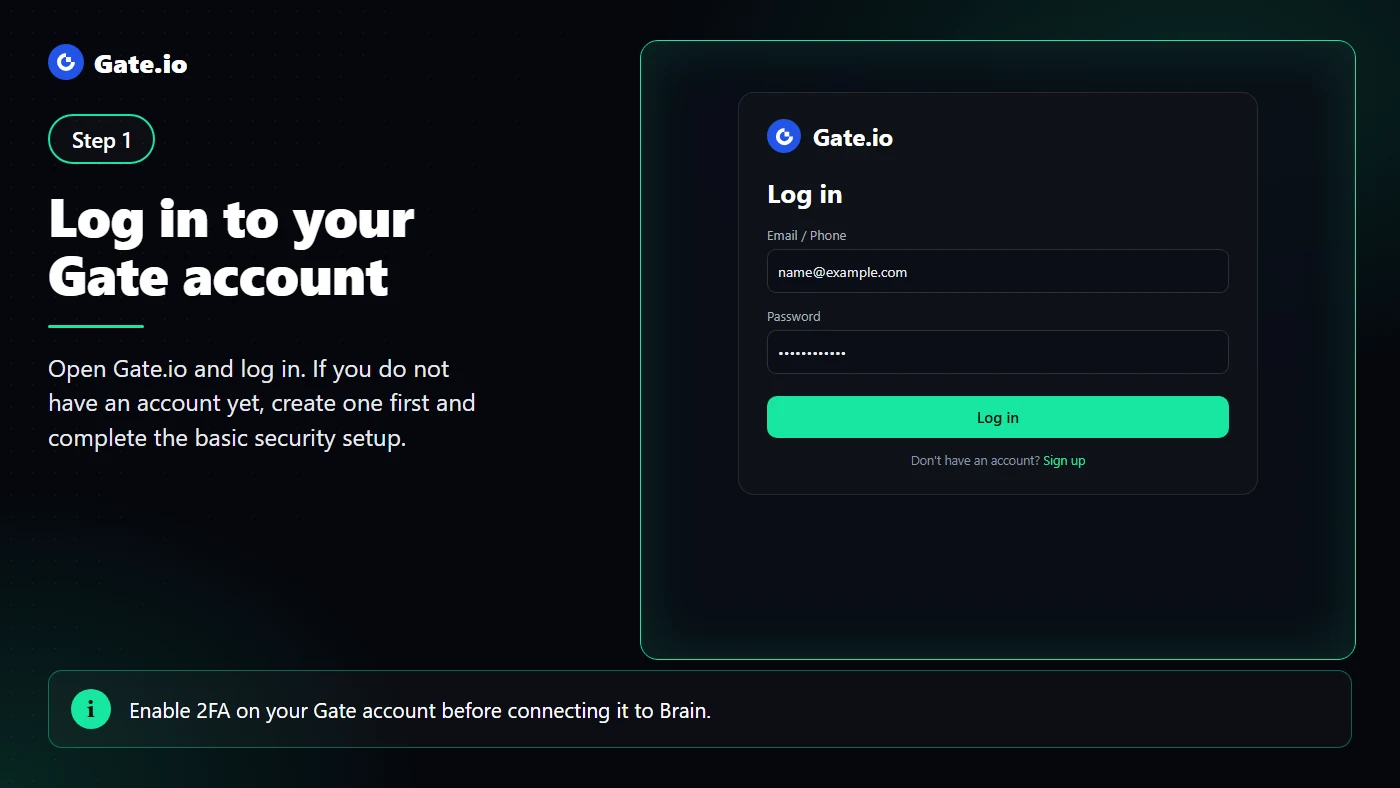
Log in to your Gate.io account
Open Gate.io and log in to your account. If you do not have an account yet, create one first and complete the basic security setup.
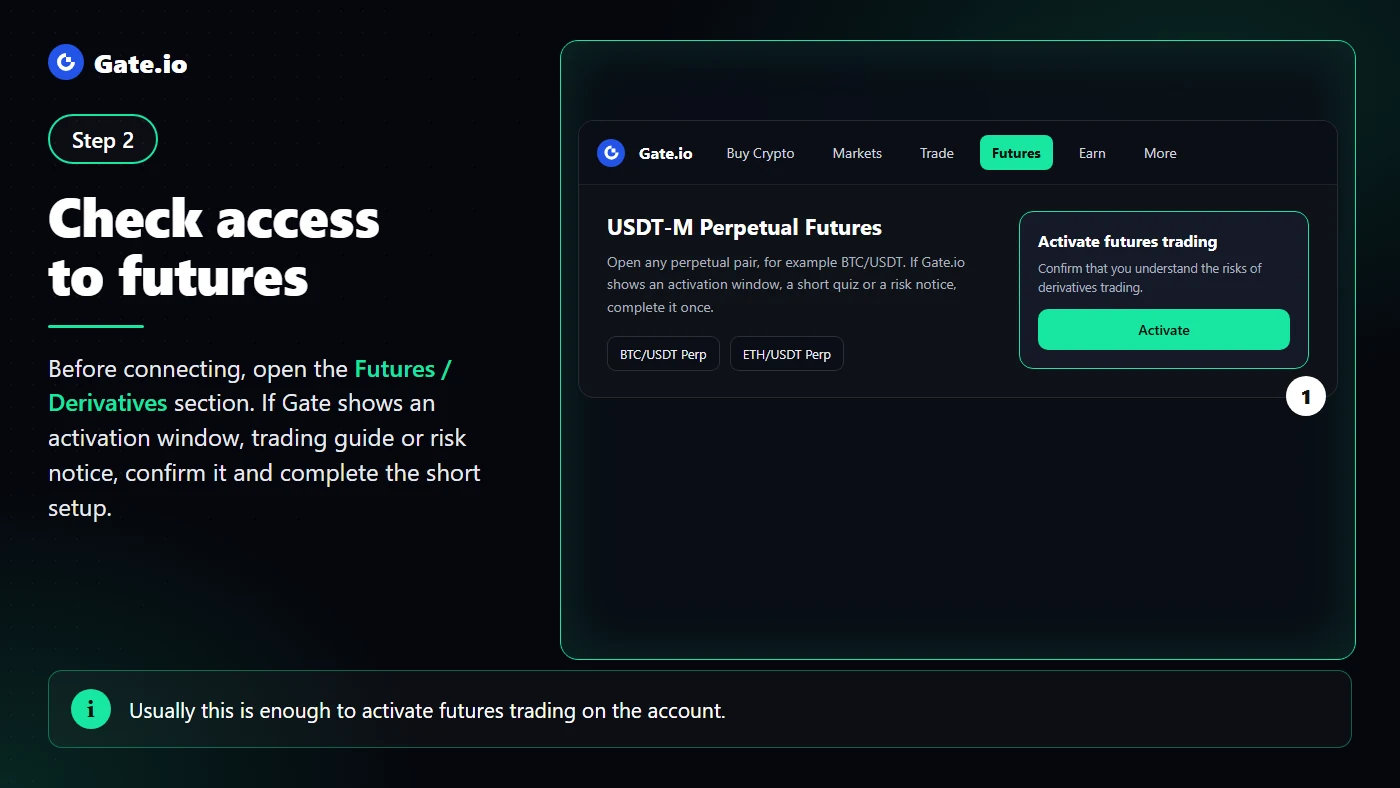
Check access to futures
Before connecting, open the Futures / Derivatives section on the exchange. If the exchange shows an activation window, trading guide, risk notice, or introductory steps, confirm them and complete the short setup. Usually, this is enough to activate futures trading on the account.
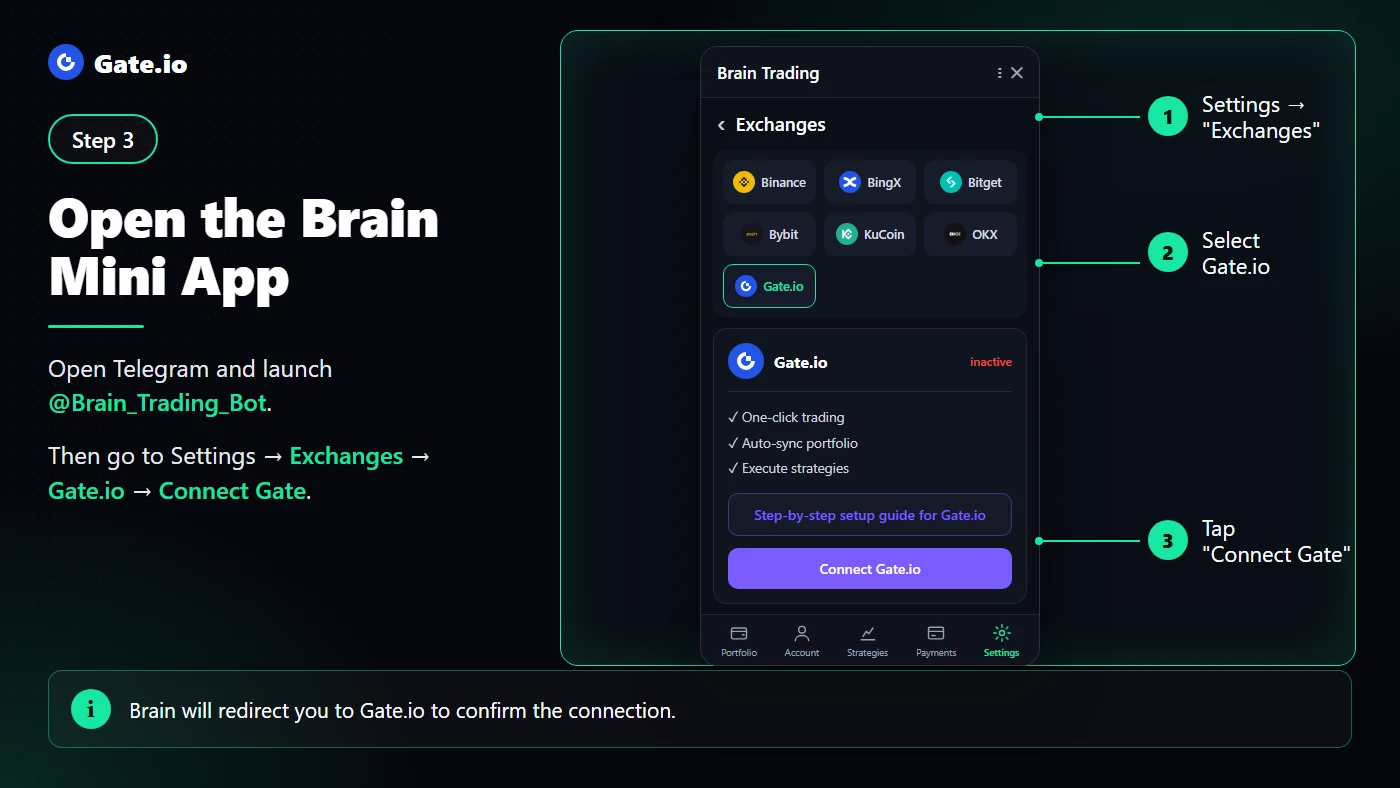
Open BRAIN Mini App
Go to Telegram and open @Brain_Trading_Bot.
Then open: Settings → Exchanges → Gate.io → Connect Gate.io
After that, BRAIN will redirect you to your Gate.io account to confirm the connection.
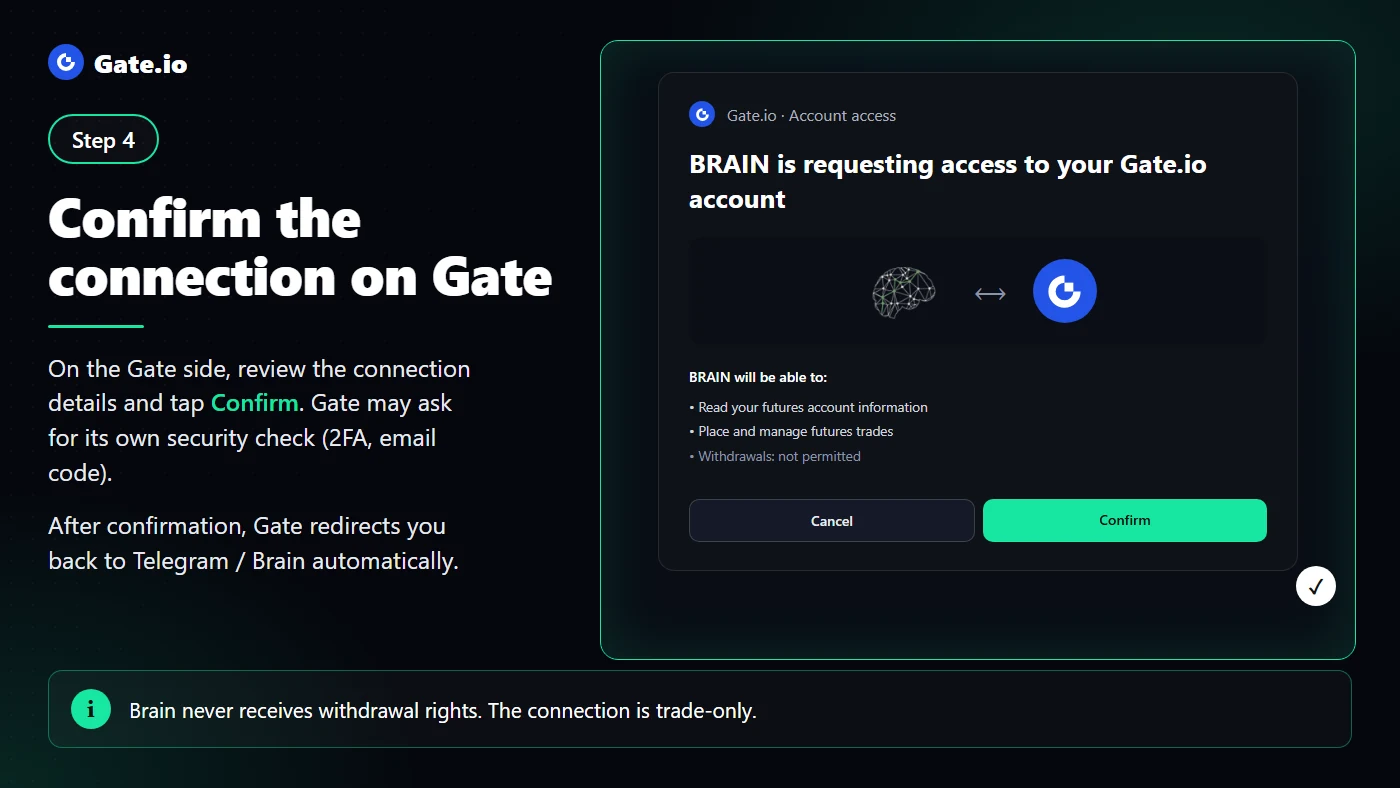
Confirm the connection on Gate.io
On the Gate.io side, check the connection details and click Confirm. Gate.io may ask for its own security confirmation (2FA, email code).
After confirmation, Gate.io will automatically redirect you back to Telegram / BRAIN.
Check the connection status
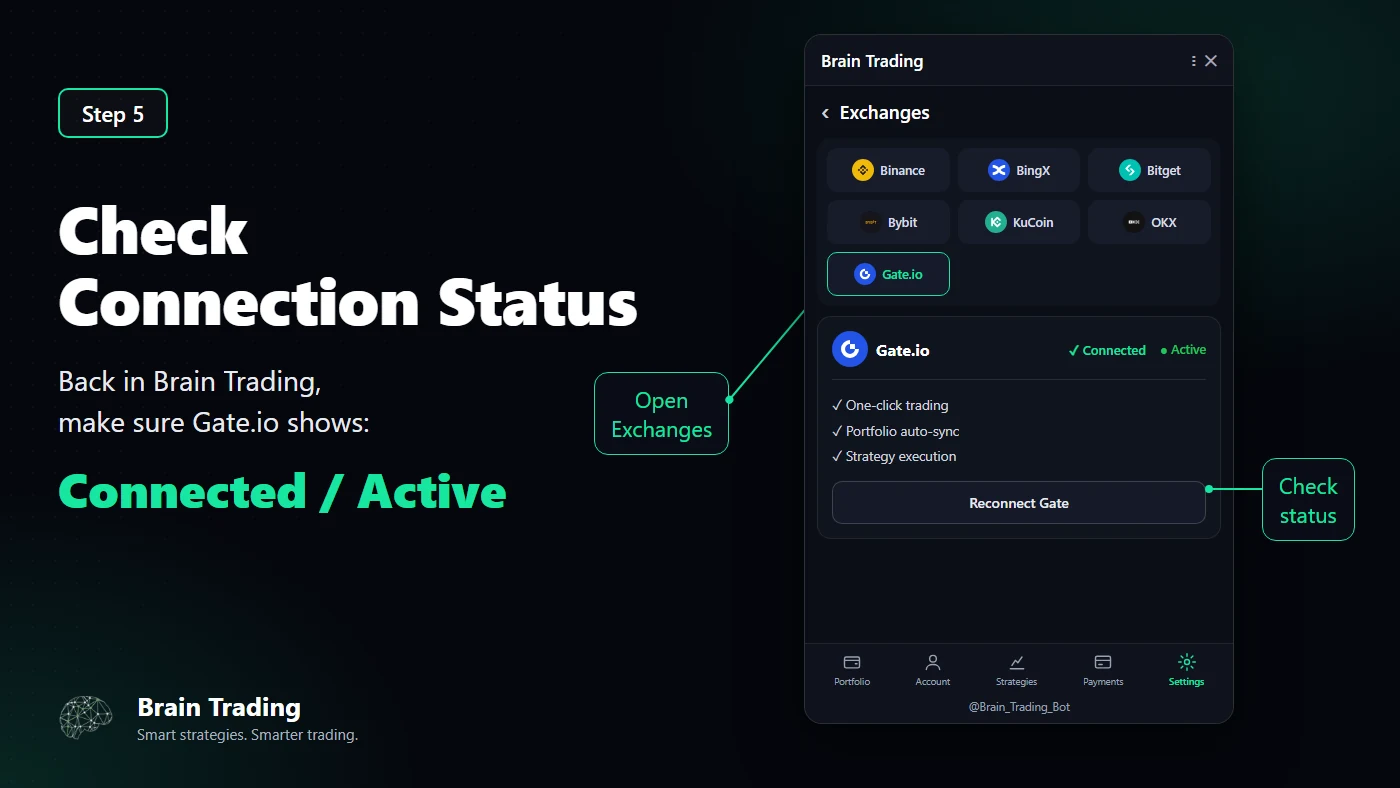
After returning to BRAIN, check the exchange status. If everything is connected correctly, the status next to Gate.io should show: Connected / Active
Gate.io notes
For Gate.io, One-Click connection is used, so the user does not need to manually copy API Key and Secret Key. The connection is confirmed on the Gate.io side, after which the user automatically returns to BRAIN. If after confirmation the status does not change to Connected / Active, try refreshing the Mini App or repeating the connection.